
Spam is everywhere; it infiltrates your emails, SMS texts, Twitter feeds, and blog post comments. While you sleep at night, it might even lurk under your pillow (okay, maybe not the last one, let’s hope not). When you attempt to derive insights from unstructured text, you will likely encounter Spam. This post explores how to leverage Azure Machine Learning to build and deploy a Spam classification model that can swiftly identify and automatically remove Spam.

1. Azure Resources
1.1 Azure Subscription
Because we are using Microsoft Azure Machine Learning you will need to sign into the Azure Portal at https://azure.microsoft.com/ to create the resources in this post. If you don’t have an Azure subscription create a free account before you begin.
1.2 Create Azure Resource Group
Quite simply an Azure Resource Group is a container that holds related resources for an Azure solution – our solution will consist of the Spam data set, compute from training, then compute to run our web service for inferencing.
1.2.1 Create Resource Group – Use Azure Portal
To use the Azure web portal to create the Azure Resource Group follow these steps – create an Azure Resource Group using portal.
1.2.2 Create Resource Group – Use Azure CLI
If you would rather create the Resource Group using bash then you can use Azure Cloud Shell. Run the following from Azure Cloud Shell (bash):
resourceGroupName=spam$RANDOM-rg
location=SouthCentralUS

az group create \
   --name $resourceGroupName \
   --location $location
1.3 Create Azure Machine Learning Workspace
Azure Machine Learning is a cloud-based environment you can use to train, deploy, automate, manage, and track ML models
1.3.1 Create Azure Machine Learning Workspace- Use Azure Portal
To create Azure Machine Leaning resource from the Azure portal – Create Azure Machine Learning Workspace
1.3.2 Create Azure Machine Learning Workspace – Use Azure CLI
Run the following in Azure Cloud Shell (bash) to create an Azure Machine Learning Workspace:
workspace=spam-$RANDOM

az extension add -n azure-cli-ml

az ml workspace create -w $workspace -g $resourceGroupName  --sku enterprise
2. Spam Classification with Automated Machine Learning
With the Azure resources created we can now use Azure Automated Machine Learning to train the best classification model.
2.1 Download Spam Dataset
First you will need to download this Spam dataset – this dataset originated from the University of California Irvine ML Repository. The zip file contains a comma delimited file that automated ml will use during training. PLease unzip the file after downloading.
2.2 Creating new Automated ML Run
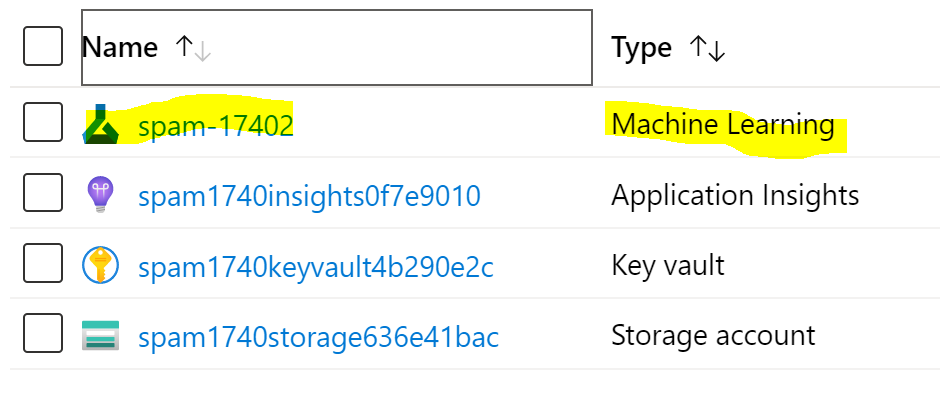
Using the Azure Portal, please open the Azure Resource Group that you created, then click on your Azure Machine Learning Workspace access it. I used the bash script in this post to create spam-17402, yours will have a different name.
Once you have accessed the Machine Learning Resource then click Launch now where is says Try the new Azure Machine Learning studio towards the center of the screen as the remainder of the post will be using this new UX.

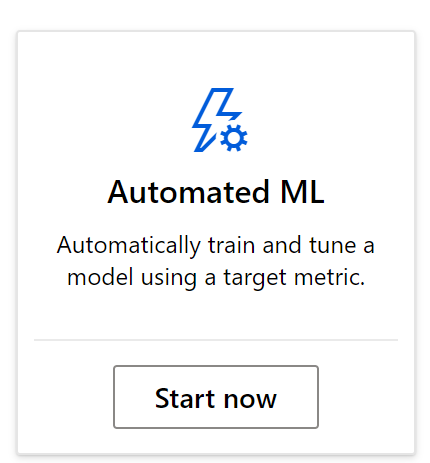
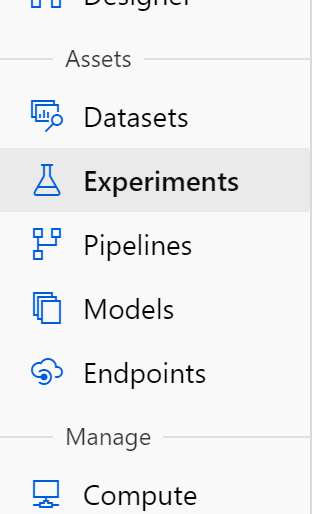
You can select Automated ML from the left navigation or choose Automated ML ‘Start Now’.

Once on the Automated ML screen, select New Automated ML Run

2.2.1 Automated ML Dataset
We will be creating a dataset from our download spam csv file. Select Create dataset, then select From local files.

Give your dataset a meaningful name and description as this dataset can be used in other models and accessed via the SDK. Select Browse and find the downloaded and unzipped spam csv file.

Continue to the next step after selecting your csv file. You can leave the default settings and schema selection:
| Seting | Value |
| File format | Delimited |
| Delimiter | Comma |
| Encoding | UTF-8 |
| Column Headers | Use headers from the first file |
| Skip rows | None |

2.2.2 Automated ML Compute
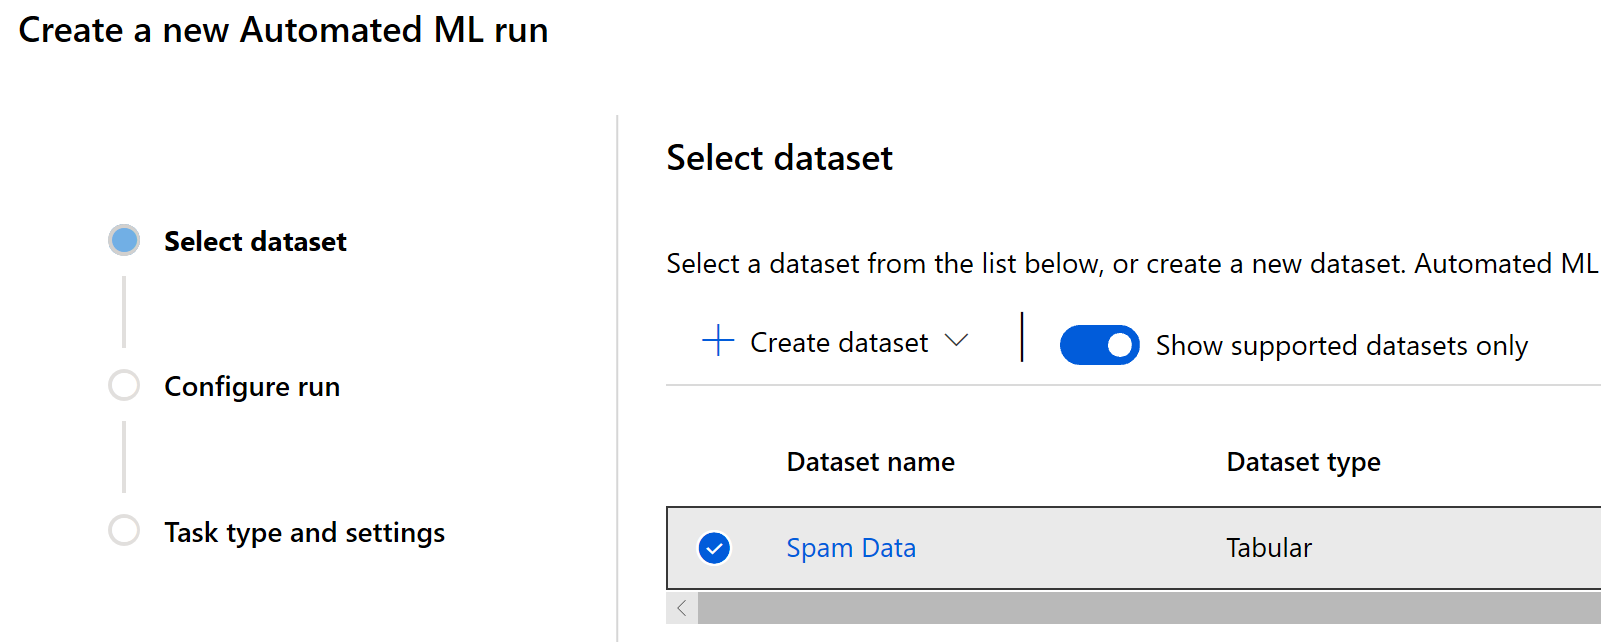
After adding your dataset we are ready to configure our run. Please make sure to select the dataset you created before configuring your run. The select Next.
Give you experiment a meaningful name,an example would be: spam-experiment. The Target column (label) in the dataset is the spam column. If this is your first training run with Azure Machine Learning you will need to create a new compute, otherwise, you will have compute options available to you under Select training cluster.

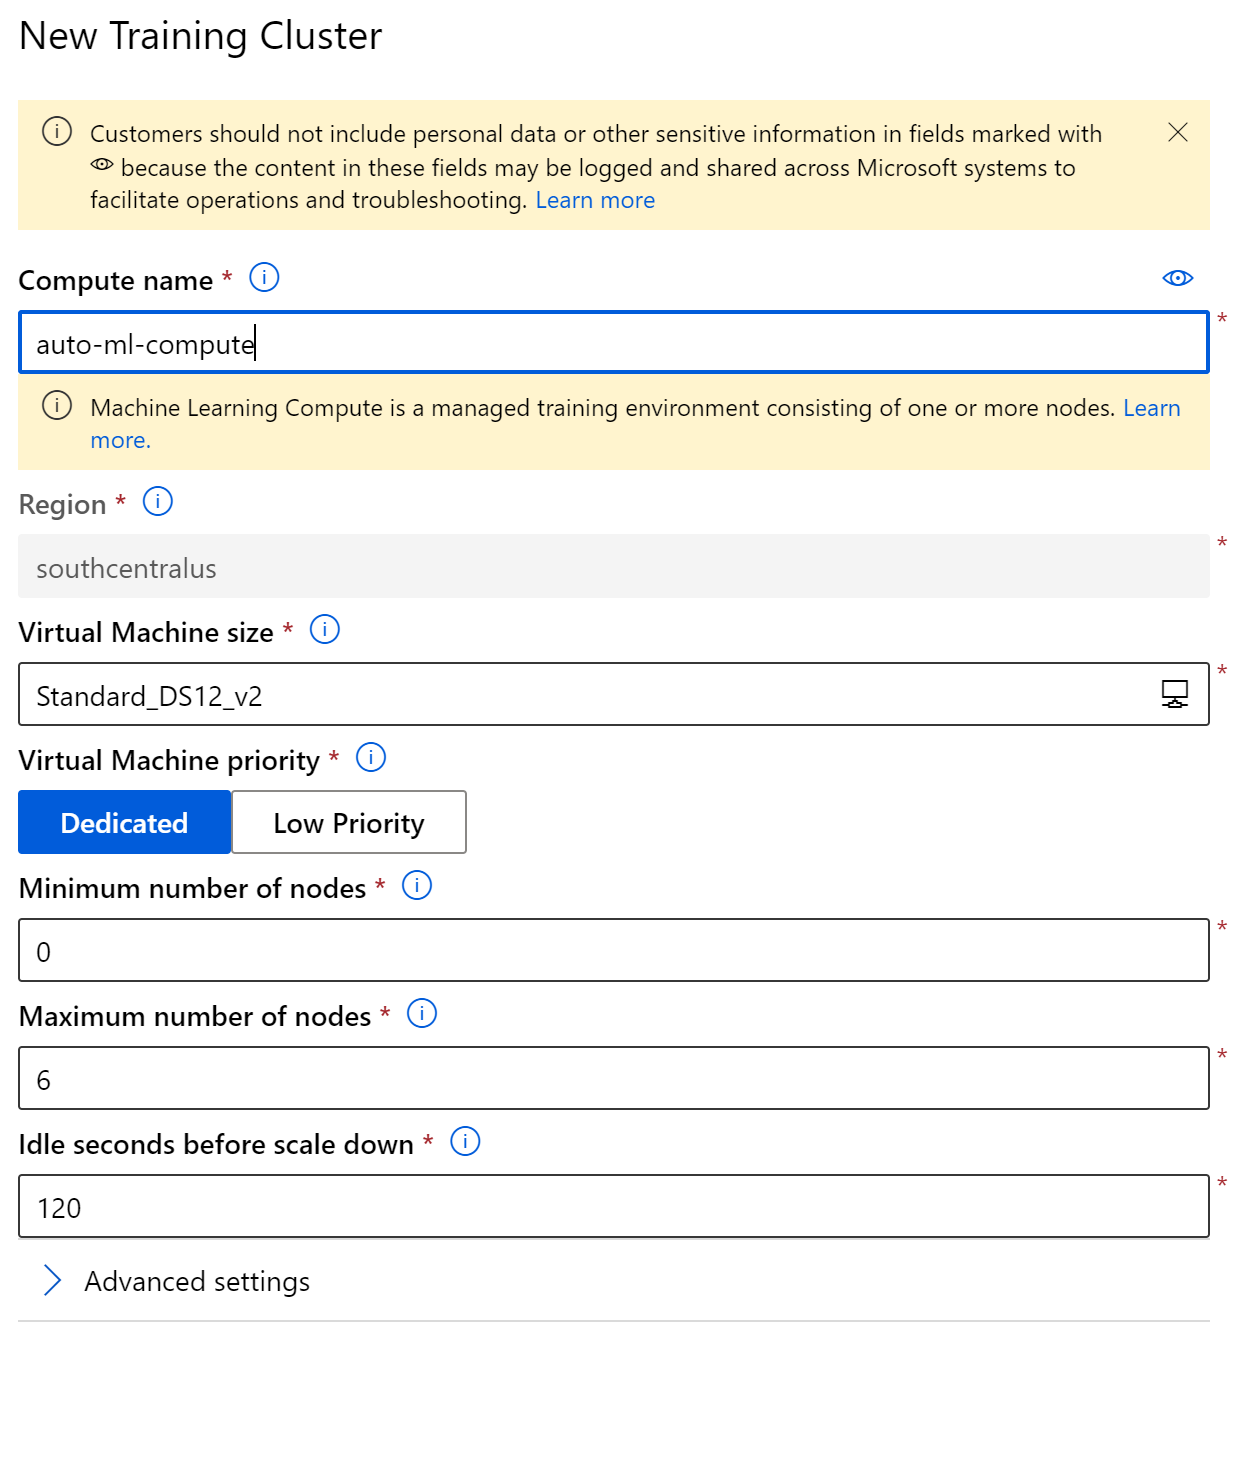
To proceed with a new computer cluster, select Create a new compute . Compute can be used for different training runs, thus the name does not need to be particular to automl. For this post you can leave the default values – it take a few minutes to provision the VMs for the cluster.
Once your compute has been provision and added to the run configuration you can continue to the next step, Tack Type and Settings where you will select Classification as the task type.

You can modify the run setting by clicking View additional configuration settings

For my run I set an exit score of .98 to early terminate when my accuracy reaches .98.

Congratulations – You just kicked-off your first Automated ML Run
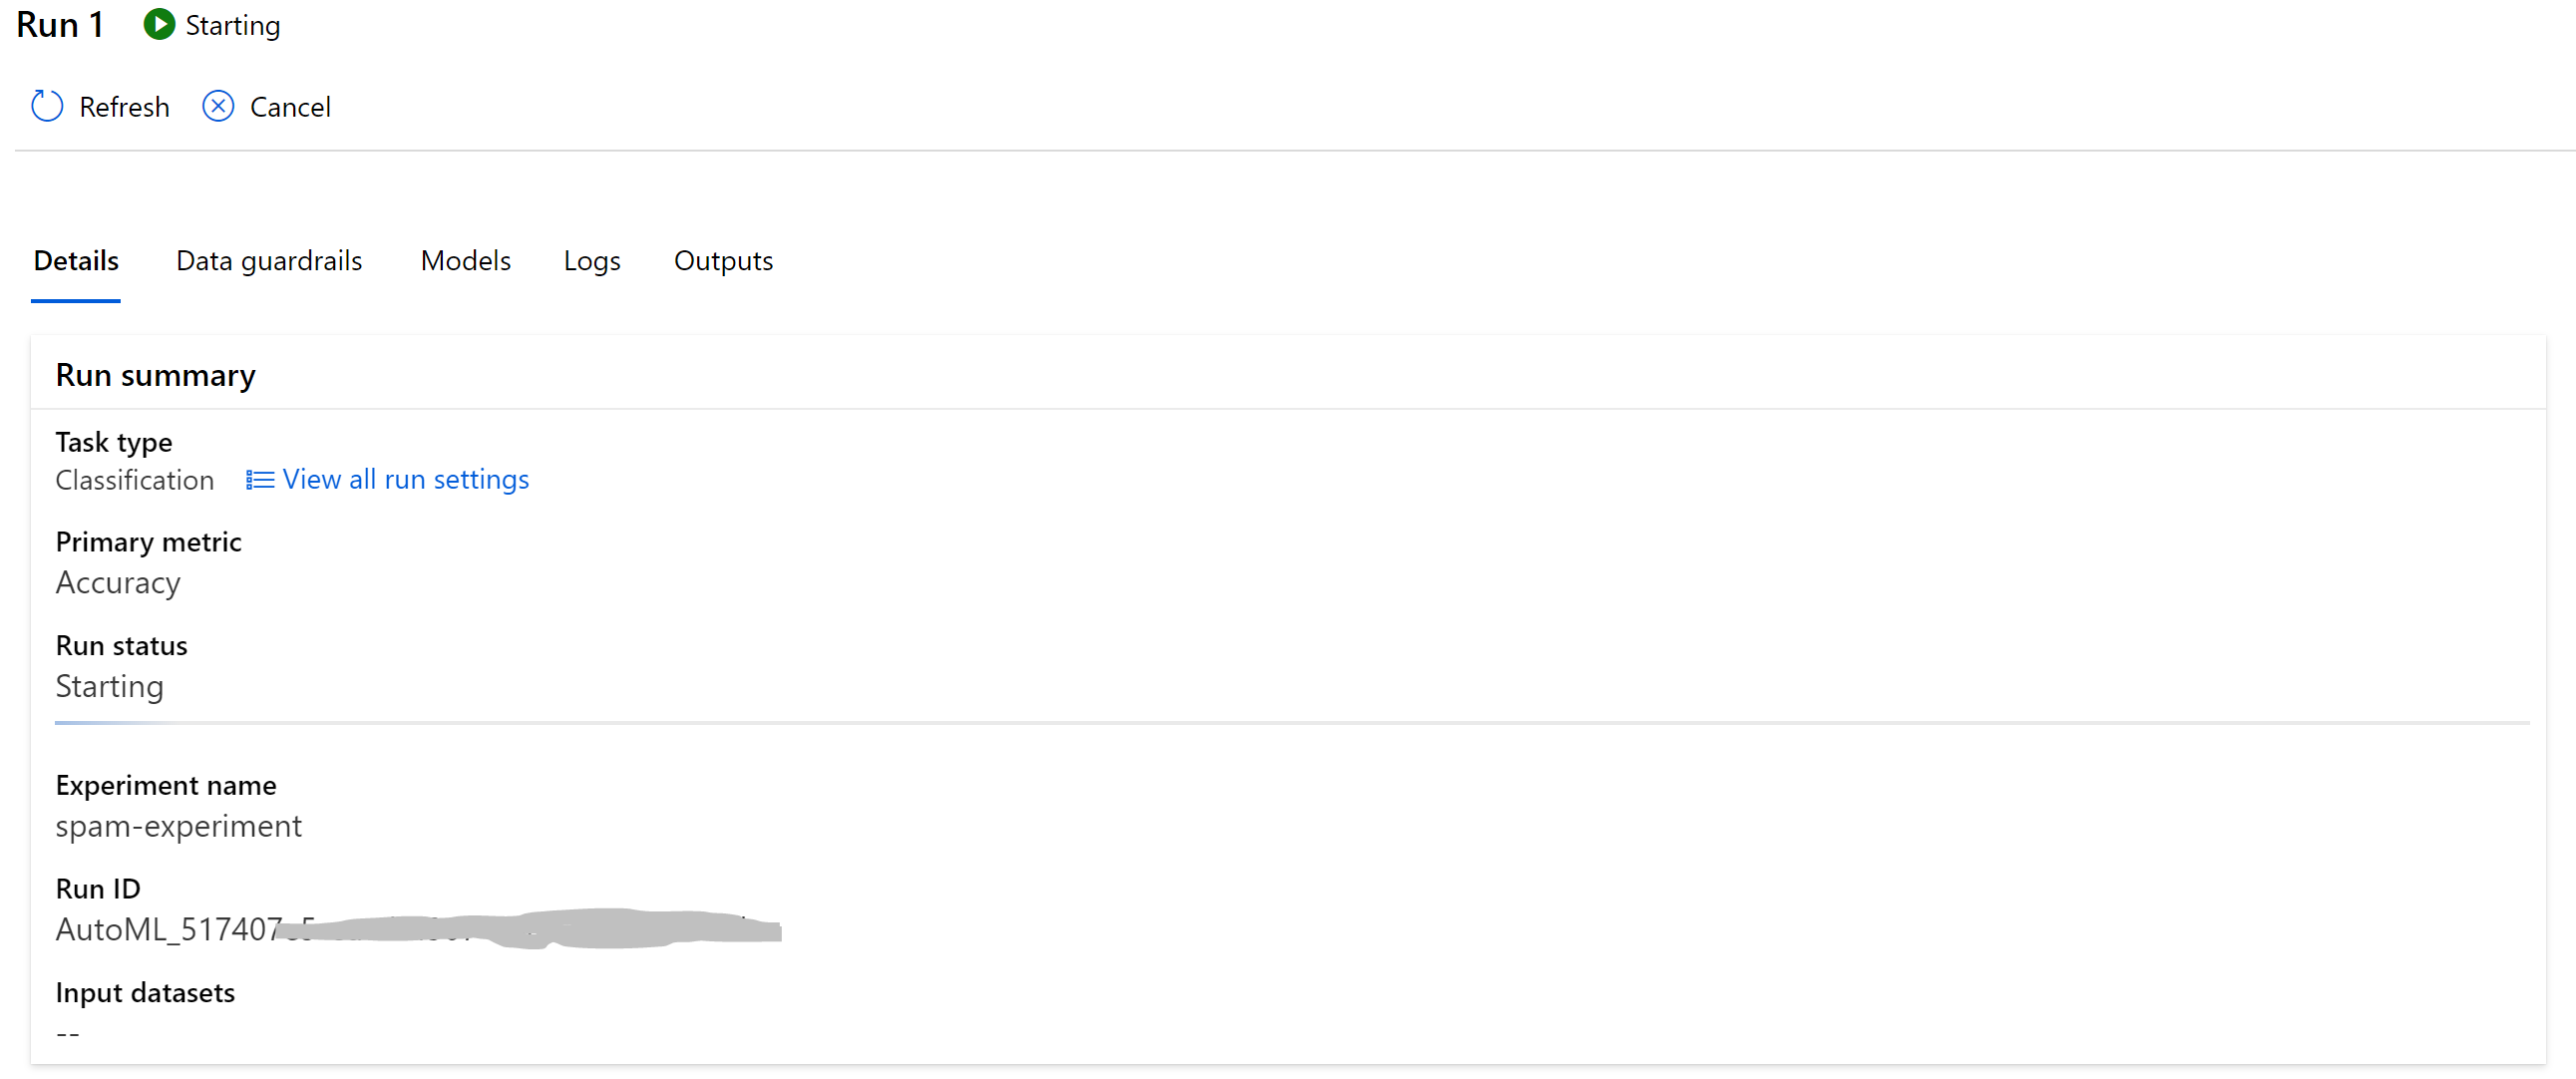
Once your run is complete, you can view the visualizations for the best model by selecting View model details then Visualizations

Below is the Confusion Matrix for the Best model; while I am interested in further exploring the dataset, for now I want to focus on the end-to-end process.

3. Deploying the ‘Best’ Automated ML Spam Model
3.1 Deploy Best Model
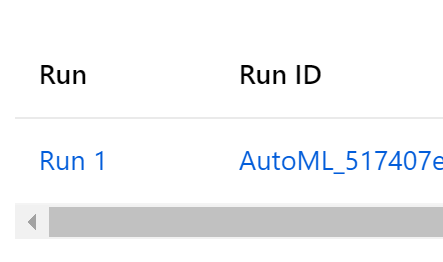
Automated Machine learning will track the best model from all the training runs to simplify downloading and deploying the model. This is easily accessible using the new Azure Machine Learning studio UX that we launched in section 2.2 of this post. To deploy your best model you will first go to your experiment by click Experiments on the left navigation then selecting your experiment, I named mine ‘spam-experiment’ as seen below.

Then select the parent run you want to deploy. Automated ML will create children runs under the parent for each training iteration – select the parent. Then click Deploy best model.

If you are not able to identify the parent run, please ensure Include child runs is disabled.

3.2 Deployment Configuration
In this post we will deploy to Azure Container Instances (ACI) as this is the fastest and simplest way to run a container in Azure without having to manage any VMs. If you leave Enable authentication off then anyone will be able to call your webservice. Let’s turn on authentication.

Deployment will take a few minutes as it will register the model, build the docker image and then deploy ACI with the docker image and authentication/routing sidecar containers. We will know that the deployment is complete and ready when our endpoint is in a healthy deployment state – read following.
3.3 Consuming the Web Service
3.3.1 Web Service Endpoint
To view your deployed endpoint go to Endpoints on the left navigation menu, then select your endpoint.


The endpoint is ready for inferencing once the Deployment state is Healthy. This can take a few minutes as stated in section 3.2 of this post. You will also see the Azure Container Instance resource in the Resource Group that you created (same resource group as Azure Machine learning).


3.3.2 Consumer Web Service with Python
Here is a simple example written in Python to score messages using the deployed web service. Your will need to get your REST endpoint uri and Primary or Secondary key from the Consume section of you Spam detection endpoint.

Python Code
Past your endpoint uri and key into the following code to score the example messages.
import pandas as pd
import json
import requests

uri = 'http://<your uri>.azurecontainer.io/score'
key = '<your key>'

spam = {'spam':[1,0,1]}
data = {"data":['PRIVATE! Your 2003 Account Statement for 078','Send me the new number at my work','Free e-book']}

input_data = json.dumps(data)

headers = {'Content-Type':'application/json'}

#for AKS deployment you'd need to the service key in the header as well
headers = {'Content-Type':'application/json',  'Authorization':('Bearer '+ key)}

resp = requests.post(uri, input_data, headers=headers)

print("POST to url", uri)
print("input data:", input_data)
print("label:", spam['spam'])
print( resp.text)
Output from VS Code
input data: {"data": ["PRIVATE! Your 2003 Account Statement for 078", "Send me the new number at my work", "Free e-book"]}
label: [1, 0, 1]
 "{\"result\": [1.0, 0.0, 1.0]}"
Leave a Reply